
Understanding Vapor Barrier Installation: What You Need to Know
In the world of home maintenance, ensuring that your living space is protected against moisture is critical. One such effective solution is the Vapor Barrier Installation. This article delves into the essentials of vapor barriers, from their function to their installation process, and provides comprehensive guidelines to ensure successful implementation.
What is a Vapor Barrier?
A vapor barrier is a material designed to prevent moisture from penetrating a structure. Typically, it is installed in crawl spaces, basements, or anywhere the risk of ground moisture infiltration may be high. By stopping water vapor, vapor barriers help maintain a dry environment, reducing the chances of mold growth and structural damage.
Importance of Vapor Barrier Installation
The installation of a vapor barrier is essential for several reasons:
- Mold Prevention: Moist environments are a breeding ground for mold, which can lead to serious health issues.
- Structural Integrity: Excess moisture can weaken materials like wood, leading to significant structural problems over time.
- Energy Efficiency: A proper vapor barrier helps regulate indoor temperature by minimizing moisture intrusion, which can lower heating and cooling costs.
- Improved Air Quality: By limiting moisture, vapor barriers contribute to better indoor air quality, making your home healthier.
Common Types of Vapor Barriers
Vapor barriers come in various materials and thicknesses, depending on the requirements of your specific project:
- Plastic (Polyethylene): The most common type, available in different thicknesses; typically 6 mils or more is recommended for durability.
- Foil: Reflective and ideal for environments where radiant heat is a concern; commonly used in conjunction with insulation.
- Perm-rated membranes: These allow water vapor to escape while preventing moisture from entering, suitable for specific conditions.
Preparing for Vapor Barrier Installation: Essential Tools and Materials
Required Tools for Effective Installation
To effectively install a vapor barrier, the following tools are generally required:
- Utility Knife: For cutting the vapor barrier material to size.
- Measuring Tape: Essential for calculating dimensions and ensuring a proper fit.
- Staple Gun: To secure the vapor barrier to foundation walls or other structures.
- Shovel: For site preparation if soil needs to be leveled or graded.
- Safety Gear: Gloves, knee pads, and masks to protect against dust and moisture exposure.
Choosing the Right Vapor Barrier Material
Selecting the right material for your vapor barrier is crucial to its effectiveness. Consider factors such as:
- Location: Different areas of your home may require different materials based on moisture levels.
- Thickness: Thicker barriers offer more durability and resistance.
- Type of Soil: Know the moisture content in your soil to choose a vapor barrier that can handle it effectively.
Safety Measures During Installation
Ensuring safety is paramount when installing a vapor barrier. Here are some essential precautions:
- Ventilation: Ensure the work area is well-ventilated to minimize exposure to fumes or dust.
- Footing Safety: Use knee pads and sturdy footwear to prevent injuries from kneeling or uneven surfaces.
- Proper Lifting Techniques: When moving heavy rolls of material, lift with your legs and not your back to avoid strain.
Step-by-Step Guide to Vapor Barrier Installation
Analyzing Your Crawl Space
Before installation, conduct a thorough analysis of your crawl space. Look for signs of moisture or prior water damage. Check the insulation and ensure that drainage systems are functioning correctly. Proper assessment will inform your installation strategy.
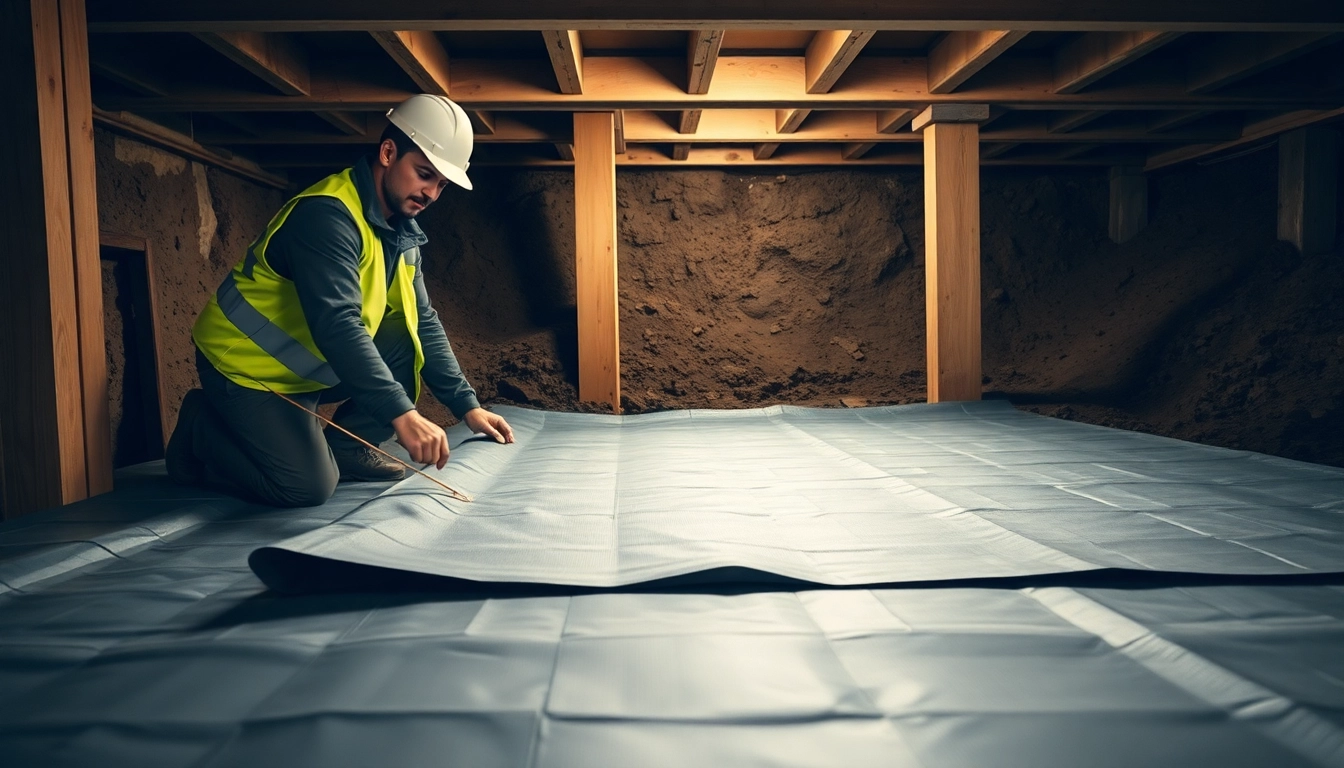
Proper Measurements and Layout
Begin by measuring the entire area where you will install the vapor barrier. Accurate measurements allow you to purchase the right amount of material and minimize waste. Make note of any obstacles such as beams or pipes that may affect the layout.
Techniques for Secure Installation
Follow these steps for a secure installation:
- Ground Preparation: Clear the area of debris, sharp objects, or water. You may need to level the ground.
- Cut the Vapor Barrier: Roll out the vapor barrier and cut it to size with your utility knife, ensuring it covers the required area adequately.
- Position the Barrier: Lay the barrier flat against the ground, making sure it overlaps the walls at least 12 inches.
- Securing Edges: Use a staple gun or adhesive tape to secure the edges to the walls, ensuring there are no gaps.
- Sealing Overlaps: Use waterproof tape on any overlaps to seal them completely, preventing moisture from seeping through.
Troubleshooting Common Issues in Vapor Barrier Installation
Recognizing Signs of Poor Installation
After installation, it is crucial to monitor for signs indicating a potential failure:
- Visible Moisture: If moisture appears on or beneath the barrier, this may indicate improper sealing.
- Mold Growth: Signs of mold growth also suggest inadequate moisture control.
- Condensation: Excessive condensation within the crawl space points to humidity issues that the barrier should address.
Solutions for Moisture Management
If you encounter issues post-installation, consider these solutions:
- Improve Drainage: Ensure your property is sloped away from the foundation to facilitate drainage.
- Dehumidifiers: Installing dehumidifiers can help regulate humidity levels in spaces susceptible to moisture.
- Regular Inspections: Schedule periodic inspections to identify potential problems early on.
Maintenance Tips for Long-Lasting Protection
To extend the lifespan of your vapor barrier, it is essential to engage in regular maintenance:
- Routine Checks: Inspect for tears or deterioration every six months, especially after heavy rain or flooding.
- Keep the Area Clean: Ensure the crawl space remains clear of debris or trash that could promote moisture retention or cause damage.
- Monitor Humidity Levels: Use a hygrometer to measure humidity; ideally, it should be between 30-50%.
FAQs About Vapor Barrier Installation
What is the best material for a vapor barrier?
The best material is a polyethylene film with a thickness of 6 mils or more, offering durability and moisture resistance.
How do I know if I need a vapor barrier?
If your crawl space is damp or musty, a vapor barrier is essential to prevent moisture-related issues like mold and wood rot.
Can I install a vapor barrier myself?
Yes, with proper preparation and safety measures, many homeowners can install a vapor barrier themselves following best practices.
How long does a vapor barrier last?
A well-installed vapor barrier can last up to 20 years, depending on environmental conditions and maintenance.
What happens if I don’t use a vapor barrier?
Without a vapor barrier, moisture can seep into your home, leading to mold growth, structural damage, and unhealthy indoor air.